Are you looking to improve your face cream manufacturing process? Understanding this sophisticated journey from raw materials to the final product is crucial in distinguishing your brand in the dynamic skincare industry.
Our insights are grounded in deep industry expertise, ensuring that your journey through the manufacturing process is informed by the best practices and innovations shaping the skincare market today.
Mastering the face cream manufacturing is not just about blending ingredients; it’s about creating a standout product in a competitive market, emphasizing quality and innovation at every step.
In this guide, we will break down every step of the manufacturing process, offering a detailed look into the technical and creative aspects crucial for product excellence.
Read on for expert insights into this complex process.
Step #1 Conceptualization and Design
The first step, conceptualization and design lay the groundwork in the face cream manufacturing process, transforming a vision into a tangible blueprint. Here are the key actions taken during this foundational phase:
- Market Research and Trend Analysis: Begin by conducting thorough market research to identify current trends, consumer preferences, and competitor products. Analyze this data to determine potential gaps in the market and opportunities for a unique product offering.
- Identifying Active Ingredients: Choose active ingredients based on their known skin benefits, aligning them with the desired product outcomes, such as hydration, anti-aging, or sun protection. Consider the compatibility of these ingredients with each other and their effectiveness for the intended skin type.
- Designing the Formula: Develop the initial formula by deciding on the type of cream – lotion, gel, or ointment – and its texture, fragrance, and color. Test different combinations to achieve the best formula.
- Safety and Compliance Check: Review the formula against industry standards and regulations to ensure it meets safety guidelines and legal requirements, addressing any potential health risks.
Step #2 Laboratory Testing and Formulation
Following the initial conceptualization and design, the laboratory testing and formulation step rigorously examines and perfects the face cream’s composition. Here are the detailed steps involved in this process:
- Developing the Formula in the Lab: Create the cream’s initial version in a laboratory setting. Measure and combine ingredients according to the designed formula, adjusting for texture, consistency, and efficacy.
- Testing Ingredient Compatibility: Each ingredient is tested against others to ensure they interact well. This includes monitoring for any chemical reactions, color changes, or texture alterations that might occur when ingredients are combined.
- Conducting Microbiological Tests: Microbiological testing is performed to ensure the product is free from harmful bacteria, fungi, and other microorganisms. Samples of the cream are cultured in lab conditions and observed for any microbial growth.
- Allergy and Irritation Testing: Apply the cream to skin patches to check for any allergic reactions or irritations. The tests are typically performed in controlled environments, often on human volunteers, to ensure skin compatibility.
- Refining the Formula Based on Test Results: Based on the outcomes of the tests, the formulation is adjusted and refined. This might include altering concentrations, modifying ingredients, or changing the manufacturing process to achieve the desired final product quality.
Step #3 Mixing and Blending Process
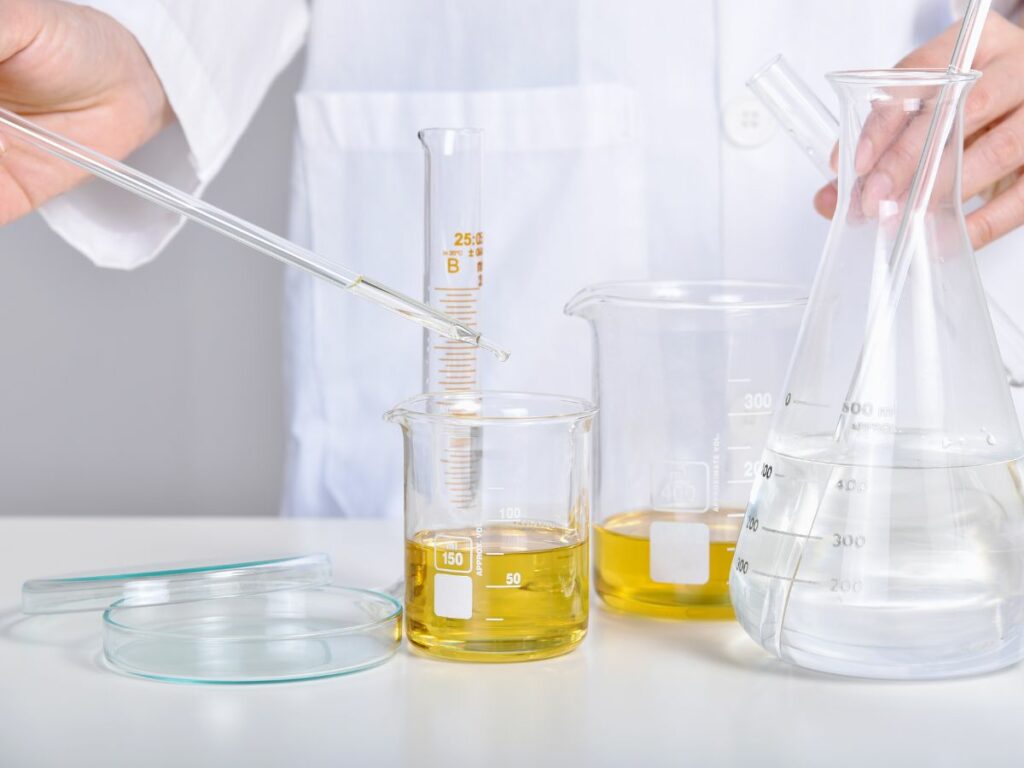
Advancing from the laboratory testing and formulation phase, the mixing and blending process skillfully unites these components, shaping the cream’s final texture and consistency. Here are the key steps involved:
- Raw Material Preparation: Begin by accurately measuring and preparing all raw materials, ensuring they are of the highest quality and correct quantity. This preparation includes weighing, filtering, and possibly heating individual ingredients to achieve a consistent starting point for the blending process.
- Primary Mixing: Add the oil-based ingredients to the mixer, followed by the water-based components. Ensure that the ingredients are added gradually and mixed at a controlled speed to prevent separation. Maintain consistent temperature while blending oil and water components for a stable preliminary emulsion.
- Secondary Mixing: After primary mixing, further refine the cream’s texture and consistency. This involves additional blending, often at different speeds or with vacuum assistance.
- Temperature Control: During the mixing process, continuously monitor the temperature, adjusting the mixer’s heat or cooling mechanisms as needed.
- Homogenization: Finally, feed the cream mixture into the homogenizer. Adjust the homogenizer’s settings to apply the required shear force, which will reduce particle sizes and achieve a consistent texture. This process should be monitored for duration and intensity to ensure smoothness and uniformity.
Here’s a table outlining the homogenization process in cream production and its importance:
| Step | Description | Importance |
| Feeding into Homogenizer | Introduction of the cream mixture into the homogenizer machine. | Initial step in achieving a consistent and uniform cream texture. |
| Shear Force Application | Adjustment of the homogenizer’s settings to apply the necessary shear force. | Reduces particle sizes in the cream, contributing to a smoother texture. |
| Consistency Achievement | The process targets a uniform and consistent cream texture. | Ensures the final product has the desired smoothness and uniformity. |
| Monitoring Process | Keeping track of the duration and intensity of the homogenization process. | Critical for maintaining quality control and achieving the desired product characteristics. |
Step #4 Emulsification
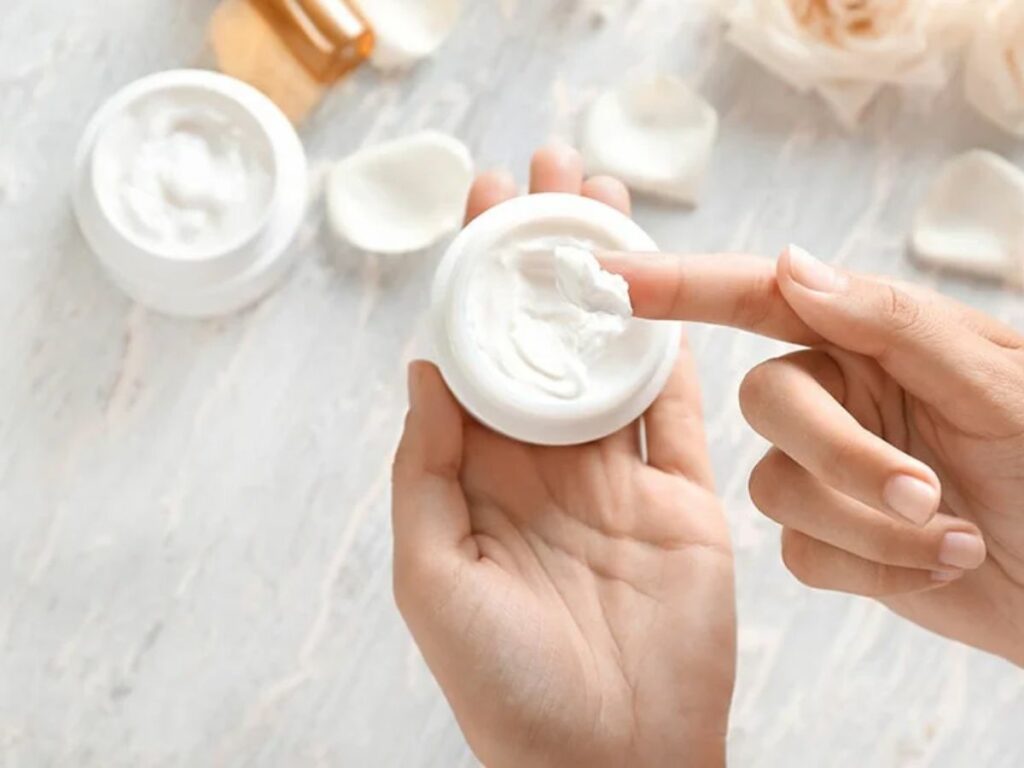
After the meticulous mixing and blending process, the emulsification stage begins, seamlessly transforming the combined ingredients into a consistent and smooth cream. Here are the actions involved in this crucial stage:
- Selecting Emulsifiers: Start by selecting suitable emulsifiers for the cream formula. These could be natural or synthetic agents, depending on the product specifications. These must be compatible with both the oil and water phases of the cream.
- Shear Mixing: Next, initiate the shear mixing process by using high-shear mixers. Mechanically blend the oil and water phases under controlled conditions.
- Monitoring Viscosity: During the mixing process, continuously measure the thickness of the emulsion through adjusting the mixing speed and duration.
- Emulsion Stability Testing: After achieving a consistent mixture, test the emulsion for stability. This includes temperature stress tests and shelf-life evaluations. Ensure the emulsion does not separate or degrade over time.
- Adjustments for Consistency: Finally, make any necessary adjustments to the consistency of the emulsion. This may involve additional mixing or the addition of thickeners. The aim is to achieve a final product with uniform texture and appearance.
Step #5 pH Balancing and Preservation
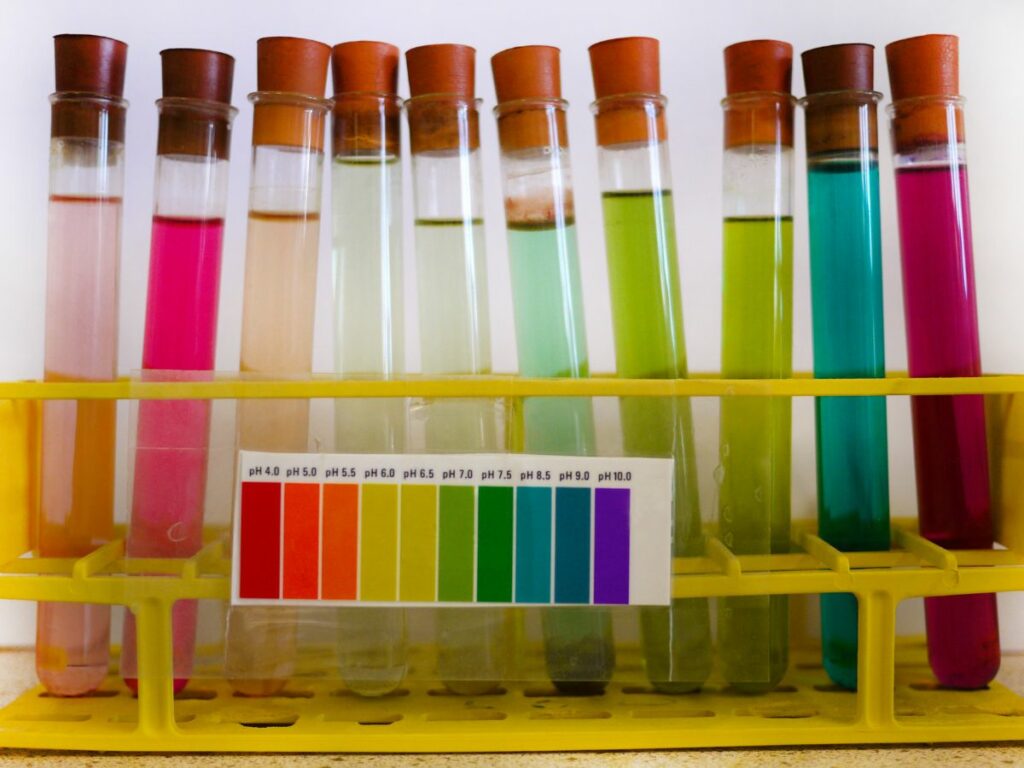
Transitioning from emulsification, the next crucial phase involves pH balancing and preservation, ensuring the final product’s safety and efficacy. Here are the detailed procedures involved:
- pH Adjustment: Initially, test the cream’s pH using a pH meter or strips. Adjust the pH by adding acidic or alkaline substances, such as, citric acid or sodium hydroxide, to achieve a skin-friendly range, typically between 4.5 and 6. Re-test the pH after each adjustment to ensure accuracy.
- Selecting Preservatives: Choose appropriate preservatives, considering factors like the product’s pH, compatibility with other ingredients, and intended shelf life. For example, options like parabens, phenoxyethanol, or natural alternatives like grapefruit seed extract.
- Compatibility Testing: Conduct tests to confirm that the chosen preservatives do not react negatively with other ingredients. Mix the preservative with the cream and observe any changes in color, texture, or separation. Adjust the formula or preservative choice if any incompatibilities are observed.
- Preservative Efficacy Testing: Conduct microbial challenge tests with bacteria, yeast, and mold, and monitor preservatives for quality control through multiple tests to find the ideal concentration. TY Cosmetic demonstrates this meticulous approach, guaranteeing that every product exceeds industry benchmarks.
- Final pH Testing: Once the preservatives are added and the product has been finalized, conduct a final pH test. This ensures that the addition of preservatives has not significantly altered the product’s pH. Adjustments should be made if the final pH is outside the desired range.
Step #6 Quality Control and Testing
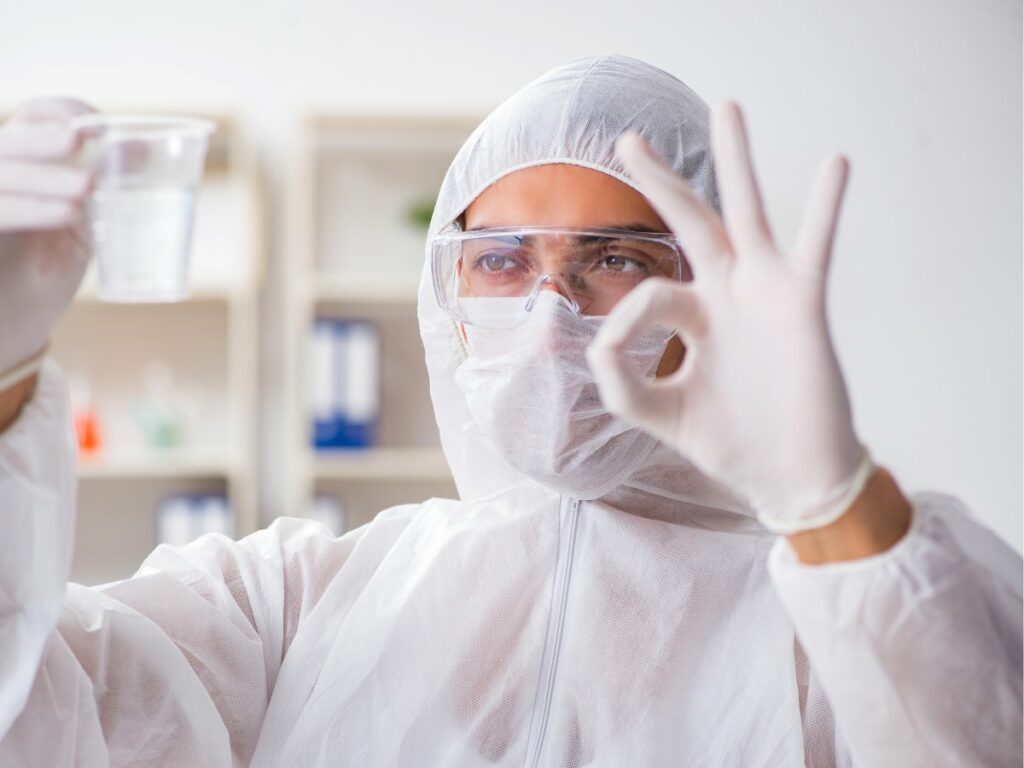
After pH balancing and preservation, the essential next step is quality control and testing, to ensure the face cream meets the highest quality standards. Here’s how to conduct thorough quality testing for face cream:
- Physical and Chemical Testing: Perform tests on the cream’s thickness, color, and fragrance to ensure batch consistency. Utilize tools like viscometers for viscosity and spectrophotometers for color analysis. Perform chemical analyses to verify active ingredient concentration and contaminant absence.
- Performance Testing: Apply the cream to synthetic skin models or specialized testing panels to evaluate its effectiveness in hydration, anti-aging, or other claimed benefits. Measure absorption rates and skin hydration levels before and after application using advanced dermatological testing equipment.
- Stability Testing: Subject the cream to varying environmental conditions, including high and low temperatures, humidity levels, and light exposure in controlled chambers equipped for photostability testing. Regularly assess the product for any changes in texture, separation of ingredients, or effectiveness.
- Batch-to-Batch Consistency: Compare multiple samples from different production batches using standardized testing protocols. Evaluate each batch for uniformity in physical properties, chemical composition, and performance characteristics by employing statistical quality control methods.
Step #7 Batch Coding and Labeling
After completing the quality control and testing phase, the next crucial step is batch coding and labeling, essential for product traceability and compliance. Here are the detailed steps involved:
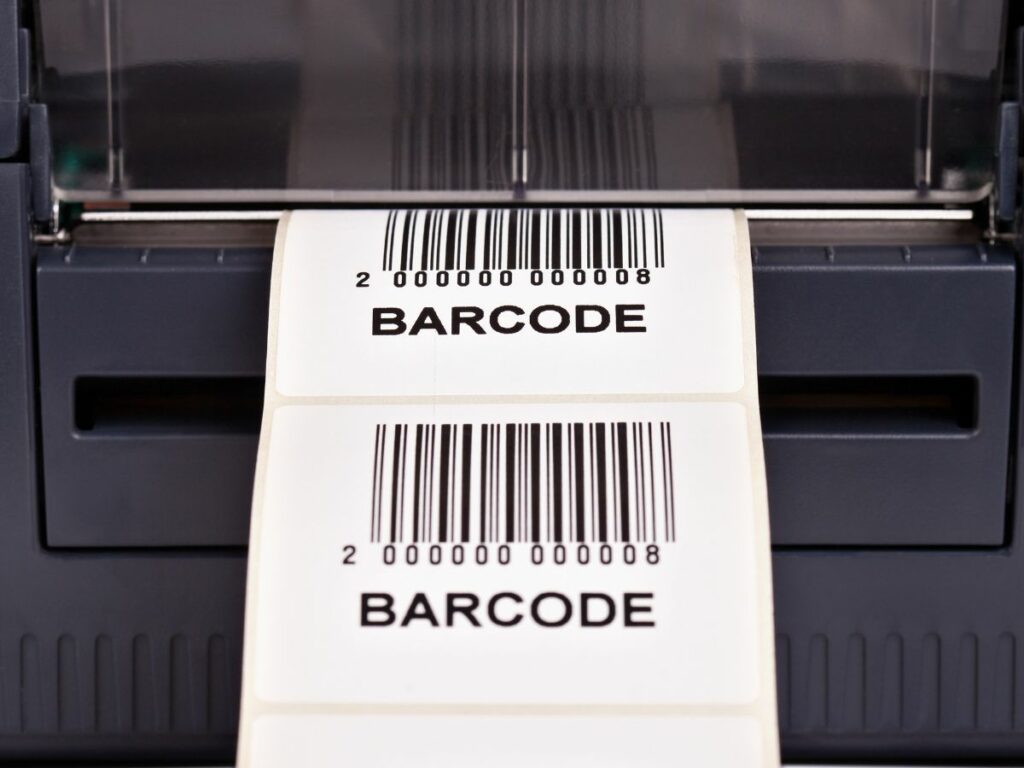
- Implementing Batch Codes: Assign a unique batch code to each production run, which typically includes details like manufacturing date, batch number, and expiration date. This code is printed or stamped on the product, allowing for traceability in case of recalls or quality issues.
- Designing Labels: Create a label that complies with regulatory requirements, displaying essential information such as ingredient lists, usage instructions, and any necessary warnings. The label design should also align with the brand’s visual identity, ensuring consistency across products.
- Label Printing and Application: Print labels with high-resolution printers to ensure clarity and durability. These labels are then applied to the product containers using automated labeling machines, depending on the scale of production. The labels should be firmly attached to withstand handling and transportation.
- Quality Check for Coding and Labeling: Conduct a thorough quality check to ensure that all codes and labels are correctly applied and legible. Verify the accuracy of information, check for any printing errors, and ensure that labels are properly aligned and securely attached.
Step #8 Packaging and Branding
Following batch coding and labeling, the face cream enters the crucial stages of packaging and branding, vital in shaping the product’s market appeal. Here are the key steps to effectively execute this process:
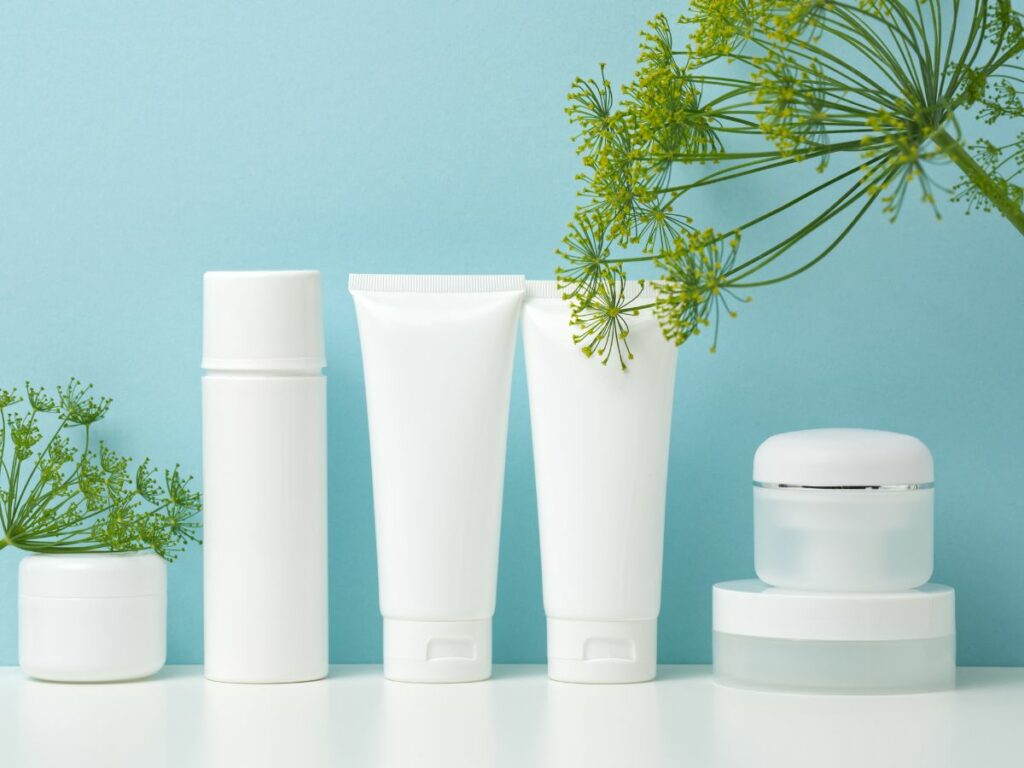
- Designing Packaging and Labels: Design the packaging by focusing on appearance, functionality, and compliance with labeling regulations. Ensure ease of use, cream protection, and eco-friendly materials. Clearly showcase the brand logo, product name, ingredients, and usage instructions.
- Selecting Packaging Materials: Choose materials that protect the product’s quality and enhance its shelf life. For example, options like glass jars, plastic containers, or tubes. According to Fortune Business Insights, the global glass packaging market is set for substantial growth, with a 4.2% CAGR.
- Branding and Graphic Design: Use automated graphic design tools to create and finalize the branding elements such as logos, color schemes, and typography. Prepare the design files for printing and apply them to packaging materials.
- Production of Packaging Components: Utilize automated machinery for mass-producing packaging components like containers, caps, and labels while closely monitoring quality for uniformity. TY Cosmetic utilizes high-speed assembly lines to enhance the efficiency and precision of the packaging process.
Step #9 Final Inspection and Storage
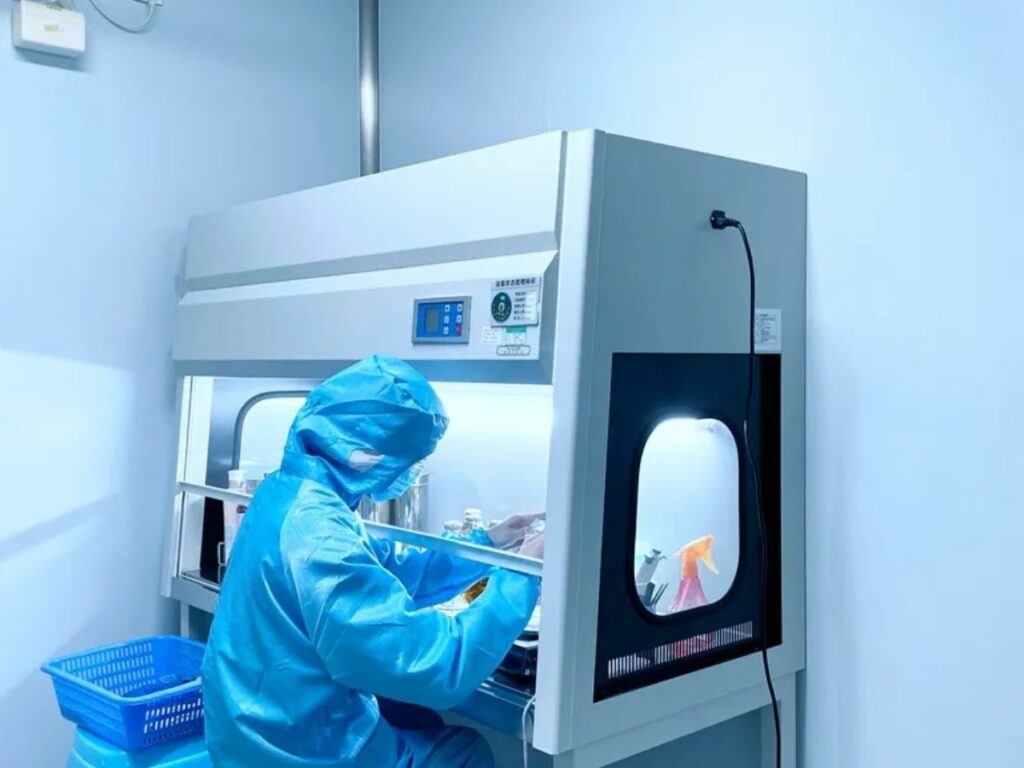
Once all the previous steps are completed, the final inspection and storage phase makes sure that the face cream is of high quality and ready to be sold in the market. Here are key steps for ensuring top-quality products:
- Packaging Integrity Check: Examine the containers for cracks, proper lid fitting, and ensuring that the packaging material is not compromised. Packaging that fails this check is either repackaged or discarded.
- Final Product Consistency Test: A sample from each batch is tested for consistency with the product specifications. Assessing the cream’s texture, color, and scent to confirm it matches the intended design. Any batch that differ from the set standards is reviewed for possible rework or disposal.
- Documentation and Record Keeping: All inspection and test results are documented for each batch. This documentation includes details of the inspection process, test results, and any actions taken for non-compliant products. These records are crucial for traceability and for meeting regulatory compliance.
- Storage Condition Optimization: Store the products in a controlled environment, suitable for the specific formulation. Temperature, humidity, and light exposure are carefully regulated to preserve the product’s quality. Continuously monitor the storage condition to ensure ongoing product integrity.
Dive Deeper Into Our Resources
Interested in discovering more? Gain instant access to our diverse range of products:
- Private Label Face Serum
- Private Label Face Scrub
- Private Label Skincare Kit
- Private Label Mom & Baby Care
Still haven’t found what you’re looking for? Don’t hesitate to contact us. We’re available around the clock to assist you.
Conclusion
Exploring the face cream manufacturing process unveils a world where precision meets creativity. This guide has provided a clear roadmap, enhancing your understanding of the intricate steps involved in creating quality skincare products.
For those seeking expert guidance and top-tier manufacturing services, TY Cosmetic is your go-to partner, combining quality and innovation to realize your vision. Contact us today for customized solutions.

